Installation
The CKSP Tools VS Code Extension
The VS Code extension CKSP Tools bundles the compiler and IDE features and can be downloaded from the Microsoft Marketplace directly within Visual Studio Code by searching for "CKSP Tools" in the Extensions view.
If you prefer to install it manually, the extension can also be downloaded as a .vsix file from the Releases section of the public cksp-tools-issues repository.
-
Download the latest version of the VS Code extension from the Microsoft Marketplace.
-
Browse all releases and download and install the VS Code extension manually.
Installation from the Microsoft Marketplace
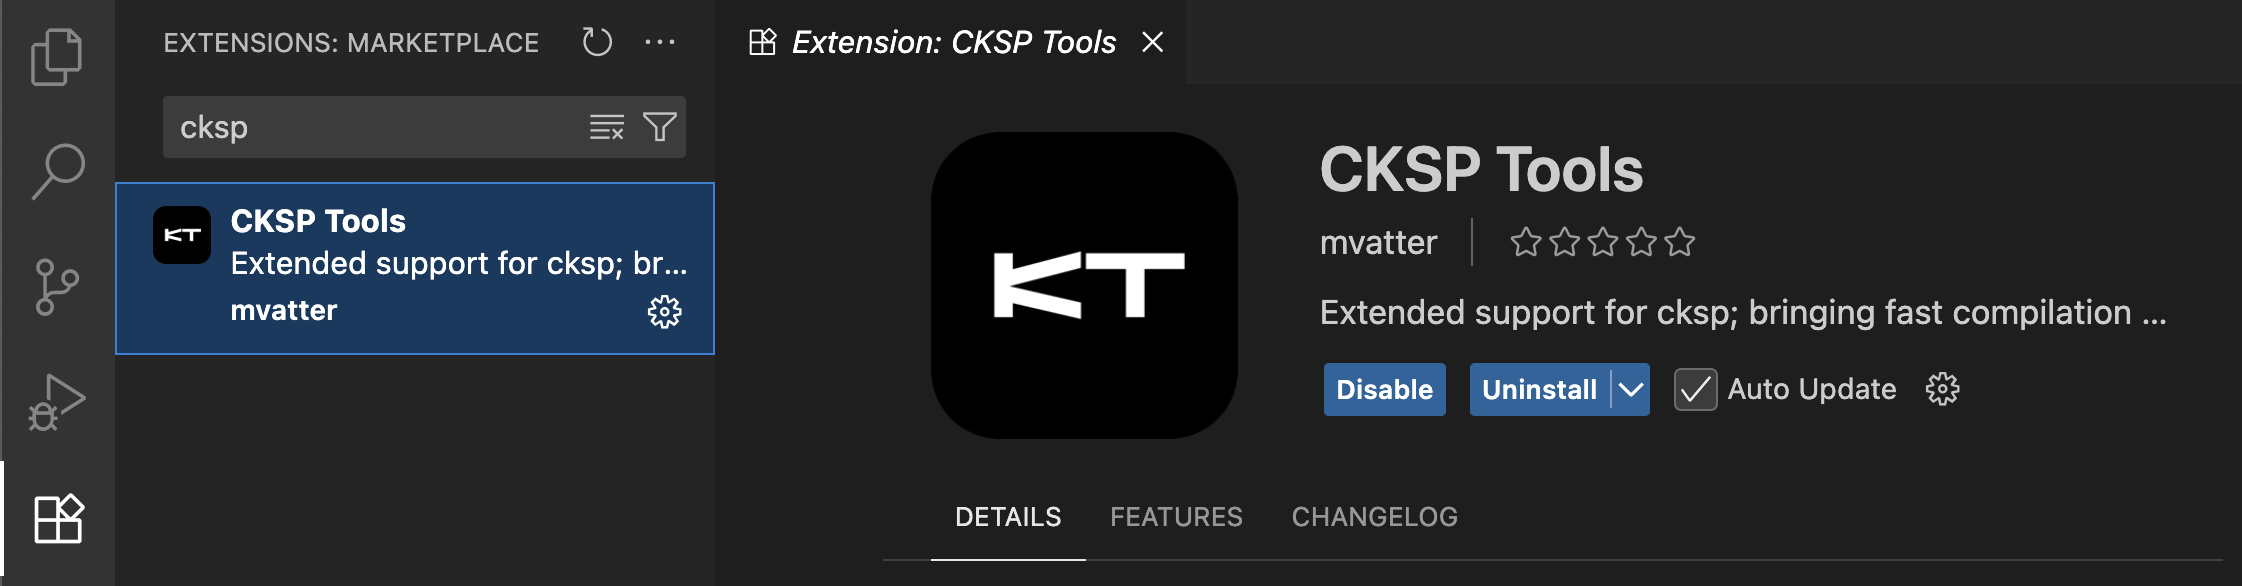
The easiest way to install the CKSP Tools extension is through the Microsoft Marketplace.
- Navigate to Extensions: Open Visual Studio Code and navigate to
Extensionsin the left sidebar, or press Ctrl+Shift+X (Windows) or Cmd+Shift+X (macOS). - Search for CKSP Tools: Simply search for
"CKSP Tools"in the Extensions view of Visual Studio Code and clickInstall.
Installation from a VSIX File
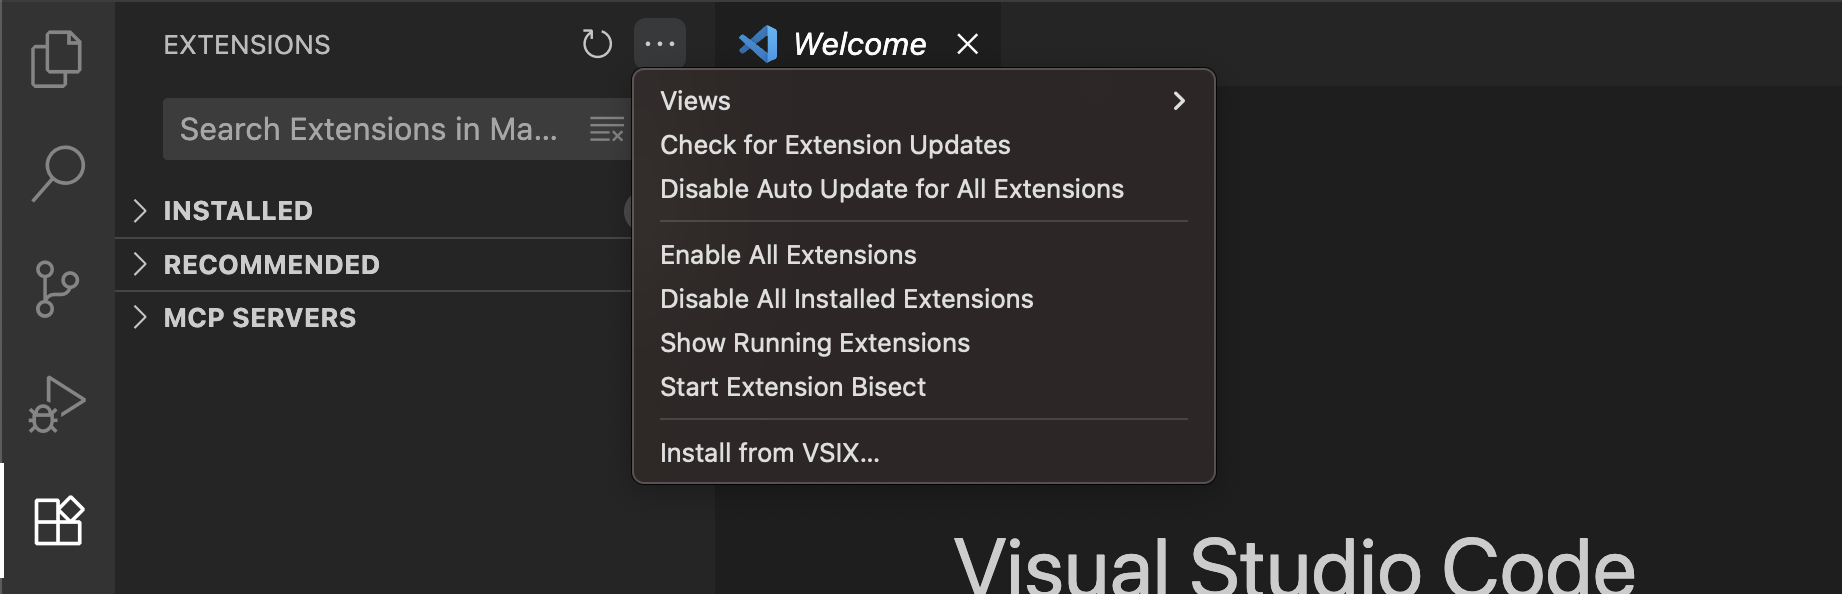
If you choose to download the extension manually and have received a .vsix file, you can install and use it by following these steps:
- Navigate to Extensions: Open Visual Studio Code and navigate to
Extensionsin the left sidebar, or press Ctrl+Shift+X (Windows) or Cmd+Shift+X (macOS). - Install from VSIX: Click on the
...icon in the upper right corner and selectInstall from VSIX.... - Select the File: A file dialog will open, allowing you to select the
.vsixfile. Choose the file and clickInstall.
Reinstallation
When reinstalling the extension, you may need to restart Visual Studio Code for the changes to take effect.
The CKSP Command-Line Executable
Both the latest stable version and pre-release versions of cksp can be downloaded as CLI executables for Windows and macOS (arm64 and x86) from the Releases section of the public cksp-compiler-issues repository.
-
Download the latest stable version.
-
Browse all releases, including older versions and the latest alpha with experimental features.
Usage as a Command-Line Executable
As an executable, you can use cksp directly from the command line and integrate it into your own build systems or IDEs.
The basic usage requires specifying an input .ksp file along with an optional output .txt file.
In the absence of an explicit output file specification, the compiler defaults to creating an out.txt file in the same directory as the input file. For detailed command options, refer to the --help parameter.
Usage as a Build System in Sublime Text
The executable can also be integrated into Sublime Text as a custom Build System.
To use cksp within Sublime Text, allowing for compilation via the Ctrl+B shortcut (Cmd+B in macOS), I recommend defining cksp as a custom Build System and using the #pragma output_path directive to specify the target build. This can be achieved by following these steps:
-
Create a New Build System: Navigate to
Tools > Build System > New Build System...in Sublime Text. -
Configure the Build System: Insert the configuration below into the newly opened
*.sublime-buildfile: -
Save the Build Configuration: Name the file
cksp.sublime-buildand save it.This action will makeckspavailable as an option underTools > Build System. -
Specify the output path: In your
*.kspfile, use#pragma output_path("path/to/file.txt")to specify the fileckspshould compile to.
By setting source.ksp as the selector, Sublime Text will automatically detect and use cksp as the Build System for
all files with a *.ksp extension when they are focused in the editor.
There is no need to manually save files you have worked on before compilation when Tools > Save All on Build is activated.
For an improved development experience, especially regarding the visualization of CompileError messages and their Color Codes, the following optional steps can be taken:
-
Install Terminus: Utilize Package Control to install the Terminus package within Sublime Text by typing Ctrl+Shift+P on Windows (Cmd+Shift+P on macOS), selecting
Package Control: Install Package, then searching for and installingTerminus. -
Expand the Build Configuration: Modify the
cksp.sublime-buildfile to include Terminus support, as shown below: